

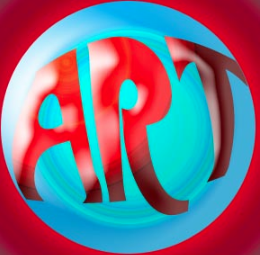
Pop Art Image Editing
Overview
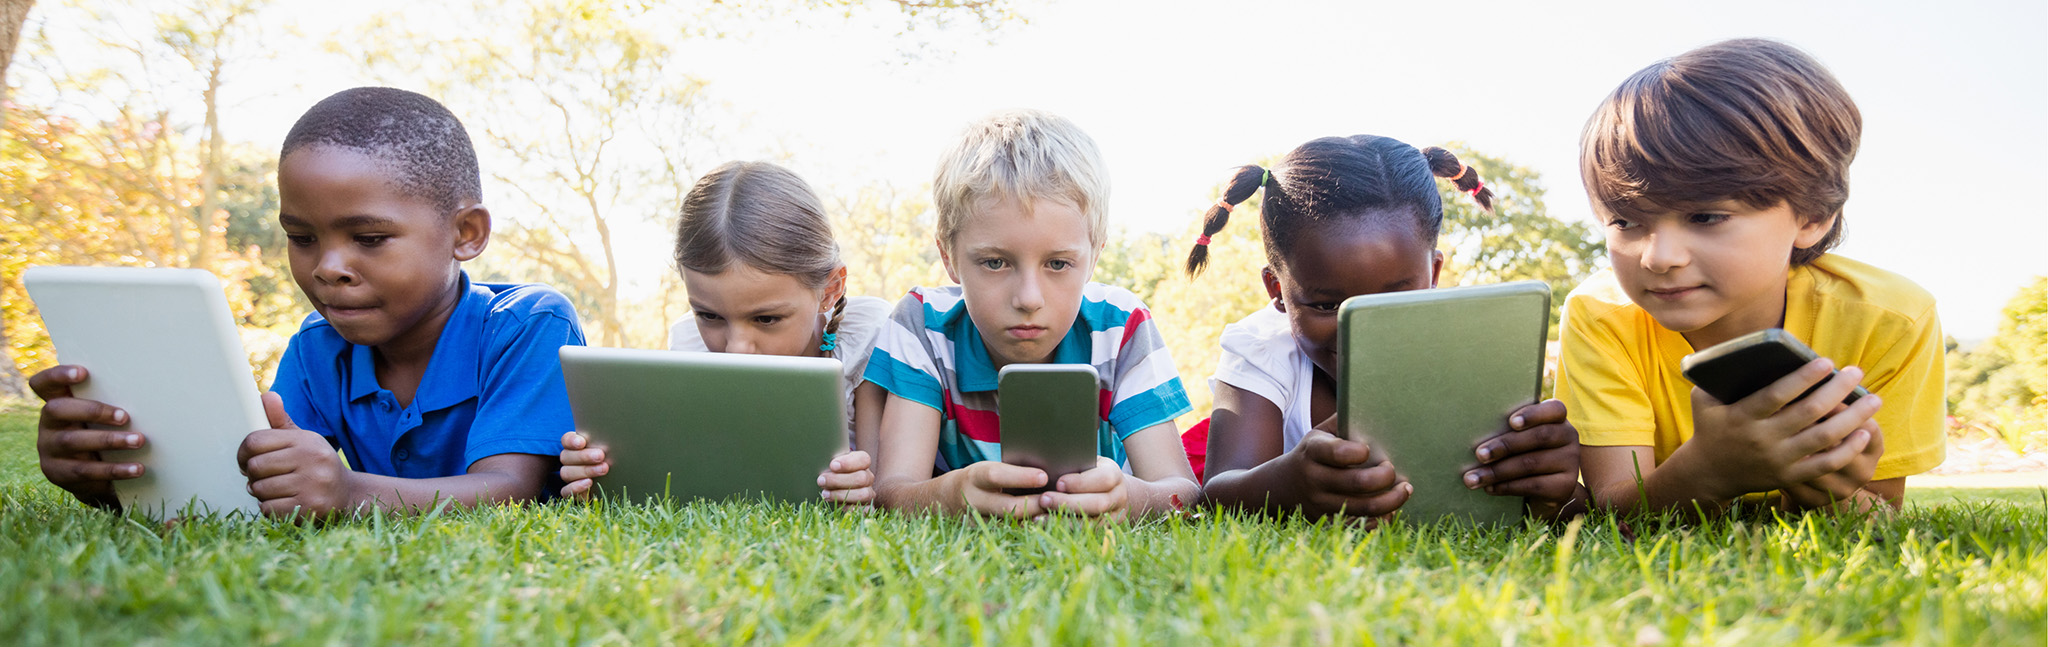
Students may create new images in the style of Andy Warhol while learning photo editing skills. The Pixlr photo editor is a free site where students may create or modify images and then download them for use on other projects.
Learning Objectives
Students will:
- Understand and abide by image usage rights.
- Be able to modify images.
- Be able to responsibly repurpose digital resources into new creations.
- Understand basic photo editing techniques.
Vocabulary
Vocabulary Words:
- Photo editor: A photo editor is an application that may be used to modify images by cropping, resizing, changing colors, etc.
Pre-planning
To prepare for this lesson:
-
Go to and review the Pixlr photo editor application.
-
This video tutorial will walk you through the steps of editing an image for this task. In the STEPS section of this task, you will find written step-by-step instructions that follow this tutorial.
-
Watch this video tutorial that shows you how to use the features and basics of photo editing on Pixlr and extends beyond what is needed for this specific task.
-
Review the steps in this task, select an image to work with, and practice at Pixlr.
Accommodations
See the Accommodations Page and Charts on the 21things4students website in the Teacher Resources.
Steps
Directions for this activity:
-
Find an image of Martin Luther King Jr. or another famous person of interest.
-
Select a headshot that has good contrast. This is a good opportunity to teach students how to search for images with usage rights.
-
Go to Google Images. Type in “Martin Luther King, Jr.” and click enter. Just under the search bar on the right side is the word “tools”, click on “tools”. You will now see a drop-down message for “usage rights”. Set this filter to Creative Commons to ensure that the picture selected may be used for this project. Download the picture and note the citation information.
-
Go to Pixlr and select “create a new image from computer”. Under the presets select 1024 x 768,
-
Open the image by going to “file” then “open image”. Note that you could elect to open an image from a URL or other options here.
-
Copy the image. Click on the photo to select it. You may move the white layer out of the way if needed to reveal the photo but then click on the photo to select it. Click on “edit”, “select all”, and “copy”. Click on the white layer and paste by clicking on “edit” then “paste”. Shortcuts may be used if desired for this. Ctrl + a for select all. Ctrl + c for copy. Ctrl + v for paste.
-
Change the size of the image. Click “edit”, “select all” (ensure the image is selected), “edit”, and “free transform”. Then resize the image to the desired size. When prompted, say “yes” to apply the changes.
-
Make a copy of this newly-sized image by clicking “edit”, “select all”, “copy”, and then “paste” or use shortcuts to copy and paste the image. Repeat the paste command for as many images as you would like and move the images into a grid pattern.
-
It is now time to color the images. Click on “adjustments” and then “color lookup”. Select a brightly colored choice, and click “ok”.
-
To get to the next picture you need to change layers on the right side of the screen. Then change the color again by repeating step seven. Repeat this until all images are colored.
-
Arrange the images one final time. Use the crop tool and outline the images with it, then click anywhere on the screen. Apply the changes and then the white background will be eliminated.
-
Save the image. Click “file”, “save”, name the file, and click “ok”. It defaults to a jpeg format, which will work for most projects. This file may now be added to Google Docs, Infographics, etc.
Assessment Options
Different options for assessing the students:
- Observations
- Check for understanding
- Pop Art Rubric
MITECS COMPETENCIES & ISTE STANDARDS
MITECS: Michigan adopted the "ISTE Standards for Students" called MITECS (Michigan Integrated Technology Competencies for Students) in 2018.
Creative Communicator
6b. Students create original works or responsibly repurpose or remix digital resources into new creations.
Devices and Resources
CONTENT AREA RESOURCES
ELA
Students write a biography and incorporate the image into the document, infographic, or project.
Integrated Arts
Students may create an original artwork in the style of Andy Warhol and describe the artistic elements and principles.
Math
Students may slide, rotate and flip images to demonstrate an understanding of these terms.
Credits
This task card was created by Patricia Paxton, Armada Area Schools, September 2018. Updated October 2023.