
Creating Instructional Videos for the Classroom - Video Creation Tools
There are so many tools available to create an instructional video. This section is going to highlight FREE and POPULAR educational tools.
You will make a choice between screencasting or shooting your own video with a video camera or mobile device.
Section Assignment:
You are going to create a less than 60-second video either screencasting or shooting a video. This does not have to be a polished video. This is a practice video before creating your final video for this course. Choose a topic, create a short outline and then create your video. You will share this video with your instructor.
If you have been creating videos already with one app, try another app for this assignment. If you have not experienced or used all the options, take the time to play with all the options.
Screencasting
What is a screencast? A screencast is a digital video recording of your computer screen and usually includes audio narration. You can record anything that is on your screen, include narration and even video/music depending on the application you choose. Screencasts are an easy way to teach a concept to students or demonstrate how to use a piece of software. It is also an excellent way to give feedback to students by recording over a piece of their work and giving advice with audio or text.
Here are three popular screencasting tools used by educators. Look at each one briefly, pick the one you would like to explore, and then you will create a 60 second or less video you can use to explain a simple concept.
Screencastify
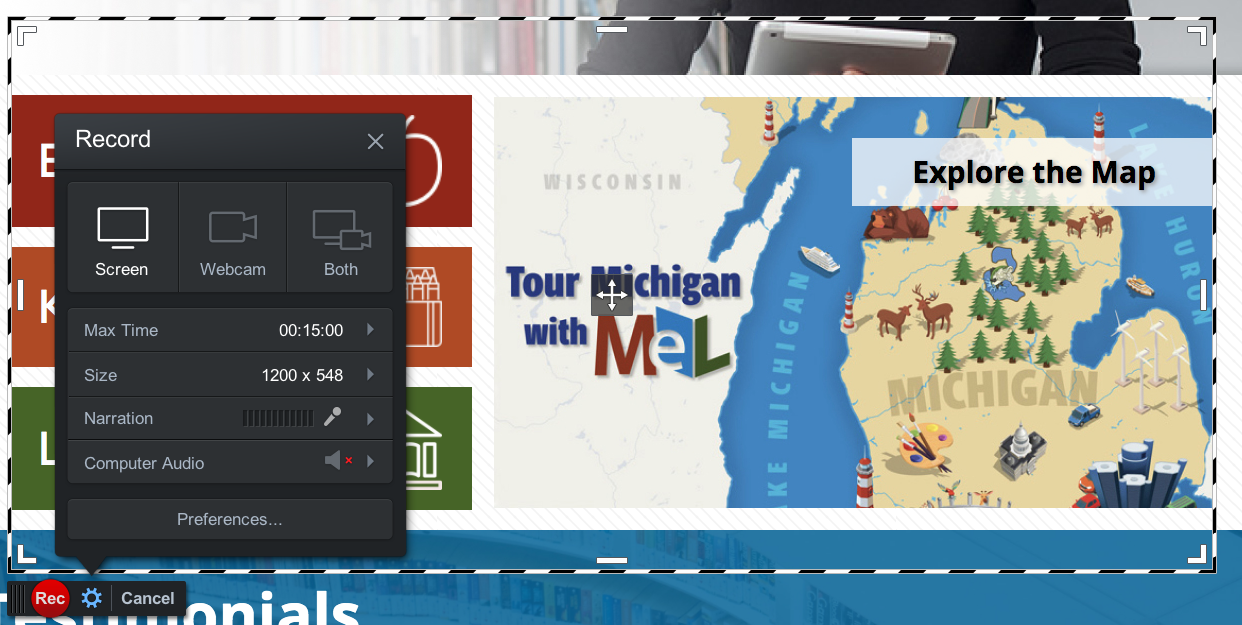
1. Screencastify is a free Chrome extension that you use with the Chrome Internet Browser. You are limited to a five-minute recording unless you purchase the premium version.
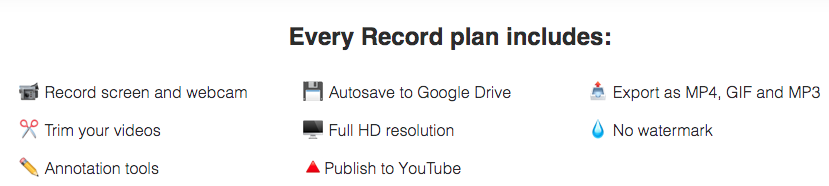
2. Every Record Plan does include the following:
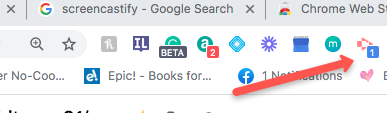
3. Go to the Chrome Web Store and search for Screencastify and then download it onto your device. Once you have downloaded it, you will see the icon on the same line as the URL in your browser. If you are logged into Google, you will have access to Screencastify as it integrates with all the Google products.
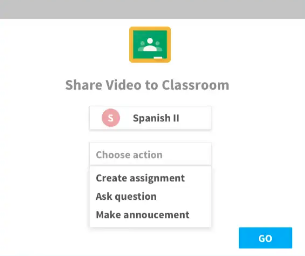
4. When you create a screencast it is automatically saved to your Google Drive. If you are a Google Classroom user you can create an assignment, question, or announcement from Screencastify.
5. You can also edit your videos easily using Screencastify.

6. Here are several videos that will be helpful to learn more about Screencastify and how to make the most of its features.
Screencastomatic
1. Screencastomatic is both a screen recorder and video editor. The free version allows you to record your screen but only the premium version will allow you to edit the videos.
2. If you used Screencastomatic years ago and have not used it recently, you will want to take another look. It has changed a lot! You will want to check out their pricing plans. Unless you are going to get really serious with your screencasting, the FREE plan will be enough to record your videos. You are limited to 15 minutes though but remember it is better to record shorter videos and chunk them.
3. If you click on the education section of the Screencastomatic website there are many tutorials for educators with hints and tips for student engagement, flipped learning, professional development, and much more.
4. Watch this video "Complete training: Screencast-o-matic 2021 Part 1" for step-by-step instructions on using all the FREE options.
Loom
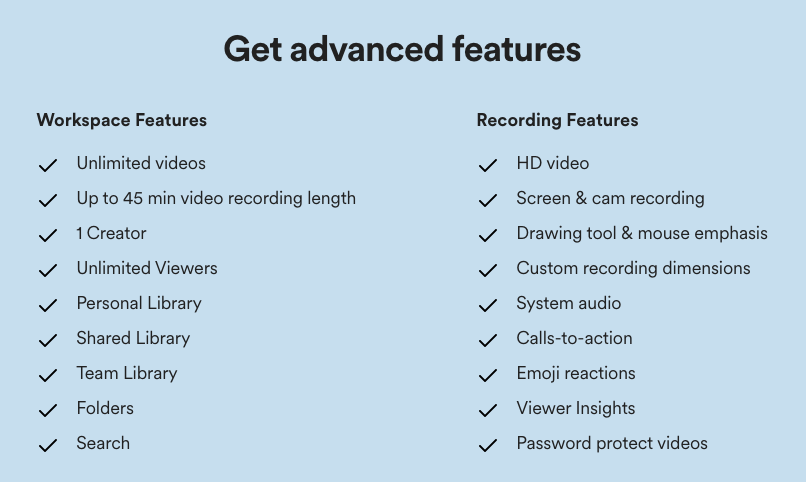
When you register for Loom you will want to make sure and sign up with your school email. Go to Loom for Education. After you sign up there is a short form that you fill out to verify that you are an educator. You will want to make sure you do this because the free version of Loom limits you to five-minute-long videos and the educator version allows you to record up to 45 minutes.
Like Screencastify, there is a Loom extension that you can get for free from the Chrome Web store. There is also a desktop version app to download on a PC or Mac OS. If you have an Android or iOS phone there is an app to record using the camera but there are limitations.
Options for Recording using Loom :
- Screen + cam: make your screen recording personal
- Cam only: record just your face
- Screen only: record your screen with audio only
If you use the desktop version there is a drawing tool to provide feedback and make quick markings on your screen as you narrate. Markings will disappear after a few seconds to keep your screen clutter-free.
When you have finished the video, you will receive a link to share the video. It is only viewable by those you send the link to. It is not searchable in a search engine.
To learn more about Loom watch the following tutorials:
How to Get Started With Loom
How to record a presentation with Loom
Shooting Your Own Video
Screencasting is a popular way to create tutorials and to give feedback but shooting your own video using a device has been popular for years. This is evidenced by the millions of how-to videos on YouTube and Vimeo that have been loaded since 2004 teaching everything from cooking, plumbing to even teaching how to screencast.
1. You can use the following to shoot your own video as long as it has a camera:
- Video Camera
- Phone
- iPad
- PC/Mac laptop or desktop
- Chromebook
- Document Camera
2. Most likely you have one or more of the devices. Choose one and choose one or two things you want your audience to learn (keep it simple).
There are times that you will spontaneously pick up your camera and record an event, but to have a quality video recording you will want to plan ahead.
3. Just like a screencast you will want to create an outline or storyboard for your video if you are the one recording it. If your students are creating the videos, you will want to teach them how to use a storyboard.
4. If you have access to an iPad there is a free teleprompter app that is easy to use. You have to type in your own script, but you can adjust the font and speed.
5. Practice your script aloud.
6. Decide whether or not you will record the video yourself or use a videographer.
Create your practice video and then move on to Video Editing Tools.
Additional Resources
Making teacher videos using Screencastomatic
Screencastomatic or Screencastify: Which is Better?
Seesaw also has a built-in tool that allows both teachers and students to create screencasts. Students can record themselves and teachers can give them feedback using video. There are annotation tools for drawing and adding text on the videos. Here is an excellent video from a teacher Using Seesaw to Give Feedback.
FlipGrid has been popular for several years as a way for teachers and students to give each other video feedback. During the pandemic, it has been so helpful for teachers to have their students easily demonstrate learning while at home. Music and art students were able to perform and get feedback on their performances. The 21 Things 4 Students has a Quest called Empower Student Voice with Flipgrid. There are tutorials to assist you if you are not familiar with Flipgrid.