
Creating Instructional Videos for the Classroom - Video Editing Tools
Video editing is an important part of creating an instructional video. There will be times when you automatically produce videos for your students but if you plan to use your videos over and over, it is a good idea to take the time to edit them.
Tips for video editing:
- Choose the right software.
- Organization
- Create a folder to put all the video clips and other media (pictures, music, sounds).
- Label the files and folders so they are easy to locate.
- 321 Rule
- Three copies, in at least two different places and one off-site.
- This rule sounds pretty over the top but it is always good to at least make one copy of your work so if you forget to hit save and/or make mistakes you will not have lost the majority of your work.
- Save a copy of your work in the Cloud for example through Google or Microsoft.
- Watch video editing tutorials.
- There are many videos on YouTube to help you fine-tune your final copy.
- Find appropriate sounds and music to accompany your video and follow the copyright laws.
- Make sure to either use your own music you wrote or music in the public domain that is free for use.
- Read the article 6 Best Public Domain Music SItes. This article showcases six popular music sites that have classical and modern music and sounds.
- Go easy on effects and transitions.
- Add your own copyright to the video by adding a slide or text to the beginning or end of the video.
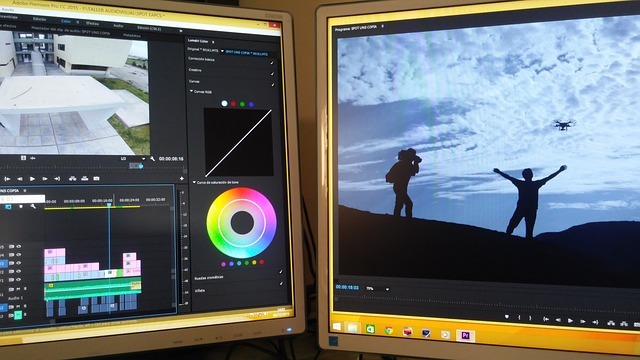
Video Editing Tools
In Section Two, you learned about a number of screencasting apps. Many of them have editing tools built into them. If you created a screencast, you may want to use their editing tools (cropping, cutting and adding clips, adding text and annotations) unless you want to add music, sounds, additional tracks, still images, etc and then you will want to use one of the options below.
Assignment
Your assignment in this section is to take the practice video that you created in Section two and practice with the editing features in one of the video editing tools. You can crop it, add annotations, add text or voice depending on the editor options.
There are many professional video editing tools available but here are several options that are free or inexpensive for educators.
WeVideo
WeVideo is a great option. It has a Free option that allows you to upload 5 minutes a month up to 1GB. There is an educator version that is $299.00 a year which allows students to create videos in a private COPPA-compliant environment monitored by a teacher. Free Personal accounts do not include collaborative features, administrator security control, or advanced editing tools like green screen, screen recording, and slow motion. For assistance with WeVideo check out their tutorials.
iMovie
If you have an Apple device, iMovie is also a great choice to edit your video. On your iPhone or PC, open up iMovie and follow the prompts to create a professional-looking video using video clips, titles, music, and effects. There is also a feature to create a Movie Trailer. iMovie trailers let you quickly create fun, Hollywood-style movie trailers from all your footage.
Camtasia
Camtasia by Techsmith is not free but does have an educator price. You can also download a free trial for a month. If you are going to spend a lot of time editing videos, Camtasia is an excellent choice as it is both a screen recorder and a video editor.
Use their tutorials to help you learn how to use their application.
Camtasia has the added ability to add interactivity to your video:
- quizzes
- hotspots
- annotations such as callouts, arrows, shapes, lower thirds, and sketch motion to highlight important points in your video
Here are tutorials for the web resources that have editing tools built into them.
After working on your videos, you will want to make sure you are storing them for easy access by yourself and students.
Let's move on to Storing Your Videos.
Additional Resources
Video Editing Tips for Beginners
Playposit
Playposit is an online environment used to create and share interactive video lessons. Teachers can use any video or screencast, edit and add activities to create what was a passive lesson into an interactive video lesson. You may add a video or search for one that has been uploaded to the site already. Once you create an account you can even add your students to your class.
- Here are detailed instructions to use PlayPosit.
EDpuzzle
EDpuzzle is also an online environment to create and share interactive video lessons. Teachers can upload their own video or search for one from YouTube, Khan Academy, LearnZillion, National Geographic, Ted Talks, Veritasium, Numberphile, Crash course and Vimeo. Once you locate a video follow the prompts to trim the video, add voiceover, insert audio notes or embed questions.
- Here is a video from a teacher who uses EdPuzzle extensively and has many hints and tips.
- You can also watch this demo video on EDpuzzle.
50 Video Editing Tips Infograph
50 Video Editing Tips Infograph from TechSmith - read the blog post and view the infograph from Techsmith.