

Numbers
NUMBERS

Numbers Overview
Numbers makes it easy to make compelling spreadsheets. You start with a template, then modify it however you like. The templates are designed for specific purposes—like budgets and checklists—to give you a great starting point for your work. Each template comes with predesigned styles for text, tables, shapes, and other objects that all look good together, so it’s easy to give your spreadsheet a coordinated appearance.
After you open a template, you can add your own numbers, formulas, dates, and text to any table; replace or delete charts and graphics; and add new tables, charts, and more.
When you select an object (an image, shape, chart, table, or cell), then tap the paintbrush, you see formatting controls for the type of object you selected.
You can quickly change the look of the selected object by tapping a style to apply it. You can also swipe up from the bottom of the formatting controls to see more options for customizing the object.

Touchscreen Editing
Gestures are critical when using Numbers on your iOS device. These are the gestures you need to know:
Tap
Using one finger, quickly and firmly touch the screen, then lift your finger. Use this gesture to select an object or activate a button.

Drag
You can drag to move an object, or to resize an object or selection range.
To move an object, touch and hold the object, then drag it to where you want it. To resize an object, tap it, touch and hold one of the selection handles, then drag to resize.
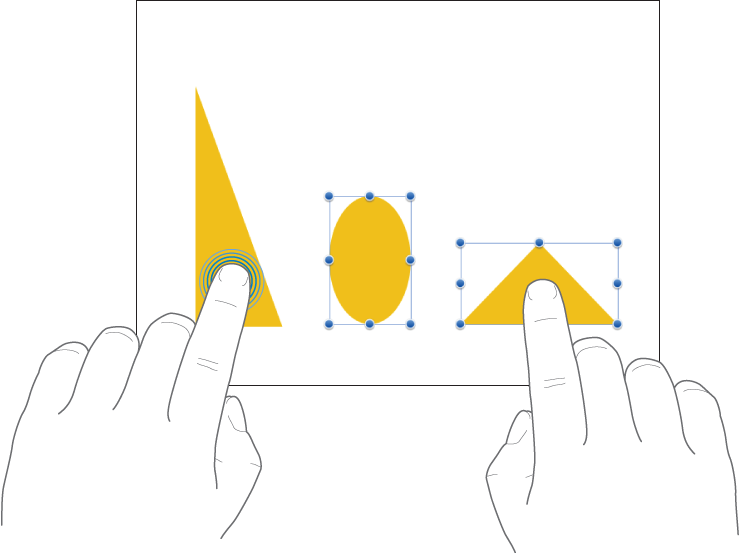
Select multiple objects
Select as many objects as you want by touching and holding one object on the screen, then tapping the other objects with another finger. Use both hands if it’s easier.
Pinch open to zoom in
Place two fingers on the screen and spread them apart. This allows you to see a close-up of items on the screen. If you’re beginning with the sheet size at 100 percent in Numbers (the normal view), pinch open quickly to immediately increase the sheet size up to 150 or 200 percent. If you want an in-between size, pinch open more slowly. An indicator shows you the current magnification level as you pinch.

Pinch closed to zoom out
Place two fingers on the screen and bring them together. This allows you to see more items on the screen. If you’re beginning with the sheet size at 100 percent in Numbers (the normal view), pinch closed quickly to decrease the sheet size to 50 percent. If you want an in-between size, pinch closed more slowly. An indicator displays the current magnification level as you pinch.

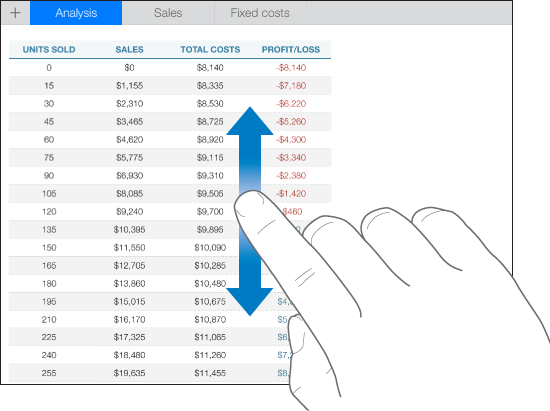
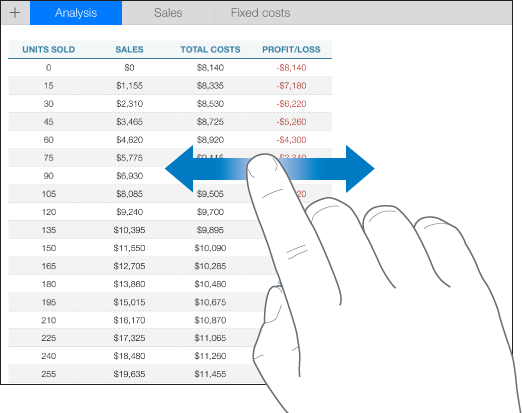
Scroll, swipe, flick
Scroll slowly by sliding one finger up and down or side to side on the screen. Scroll quickly (swipe or flick) by whisking one finger rapidly across the screen. Scrolling allows you to see more rows and columns in a table, any items that are currently beyond the edges of the screen, or more options and controls within a window.
Any header rows or columns in your table are frozen by default. This means that they stay put as you scroll within the body of the table.
Create a Spreadsheet
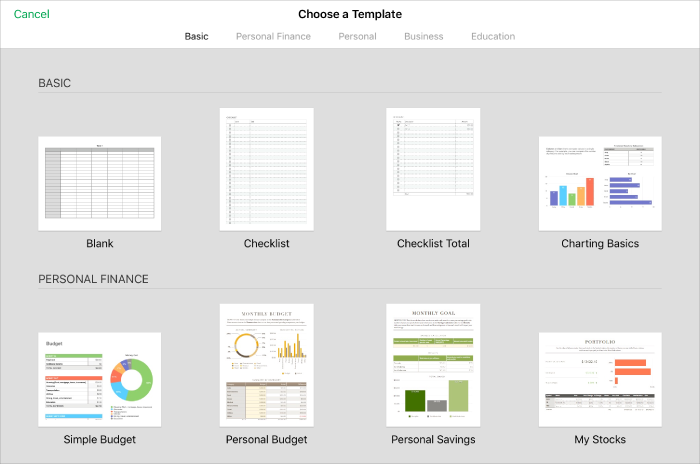
To create a spreadsheet, you start with either a blank template, to which you can add tables, charts, text, and other objects, or a predesigned template that has placeholder elements, including text and images. These templates, which are designed for purposes like personal finance, business, and education, give you a great starting point, and you can modify them however you like.
-
In the spreadsheet manager, tap "+" at the top of the screen to open the template chooser.
-
Tap a spreadsheet template.
Scroll to see all of the templates, or tap a category at the top.
-
Do any of the following to customize your spreadsheet:
-
Tap a table cell to delete placeholder content and add your own.
-
Tap in the toolbar to add other tables, text boxes, shapes, and images.
-
Arrange the sheet by dragging tables and objects to where you want them.
-
Your spreadsheet is saved automatically as you work. You can change the name of the spreadsheet or change where it's saved at any time.
For more information on Numbers, such as usign formulas and adding images, please see the Apple Support Guide below:
K-2 Using Numbers

Students will use Numbers to demonstrate their understanding of number recognition.

Instructions
- Teacher open Numbers and create a spreadsheet with 10 blank sheets. Name it Number Hunt.
- Split screen with Classroom and Numbers. From Numbers “Recent files” screen, drag and drop the Number Hunt file to “All” or a group of students in your classroom.
- Students open the Numbers file in the Numbers app.
- Tap each sheet and add photos that represent the number of objects on that sheet.
- When students are finished, tap three dots (…), then “Share,” tap class name, to turn their work into the teacher via Classroom.
3-5 USING NUMBERS

Students will use Numbers to create a travel/history journal.

Instructions
- Students open Numbers and create a spreadsheet with 5 tabs. Label those tabs, State (name), History, Capital, Famous Places, Facts. (These are examples)
- Split screen with Safari and Numbers. Use Safari, drag and drop images, type or write information, and add voice recordings explaining content on each tab.
- Open Maps; zoom in and find the state and take screenshot/s. Annotate on the screenshot/s explaining the facts stated on the tabs.
- When students are finished, tap three dots (…), then “Share,” tap class name, to turn their work into the teacher via Classroom.
6-8 USING NUMBERS

Students will create an interview podcast using Numbers to outline and stage the creation process. 
Instructions
- Students create a spreadsheet with a tab for every interview they complete. On the sheet add text boxes that include… Why do we want to interview a guest, Who they are interviewing, What questions will they ask the quest.
- Use the Camera to take an image of the guest, add the image to your spreadsheet.
- Record interview by using the record feature in Numbers. (Use Garageband if you want to have the audio recording separate)
- Create an opening jingle using Garageband that represents the mood for your interview. Export jingle as a song and add to your spreadsheet.
- When students are finished, tap three dots (…), then “Share,” tap class name, to turn their work into the teacher via Classroom.
9-12 USING NUMBERS

Students will create a portfolio website about their career in High School.

Instructions
- Students create a spreadsheet with tabs for each class they are taking or took while in high school.
- Use the camera to take pictures of the classroom, teacher, and work that you are proud of.
- Open Files and take screenshots of documents, exams, tests, art work, and other items you are proud of.
- Annotate/Markup the images as needed to explain or outline their importance.
- Add those images and any other images/videos you have to those tabs for each class.
- Use the recording feature in Numbers and provide audio feedback on what you learned, like best about the class.

The iPad offers many built in Accessibility tools that allow every student in your classroom to feel empowered and engaged. Here are a few ways you can reach all learners using these Accessibility Tools in your classroom:
Teachers can use the Numbers app to create Infographics for struggling readers. Adding pictures to text will support more learners in your class.
Students can use Dictation to fill in cell information as well as to create comments and text boxes. Speak selection can be used to listen to text already on sheets and forms created with Numbers.