
Clips
CLIPS

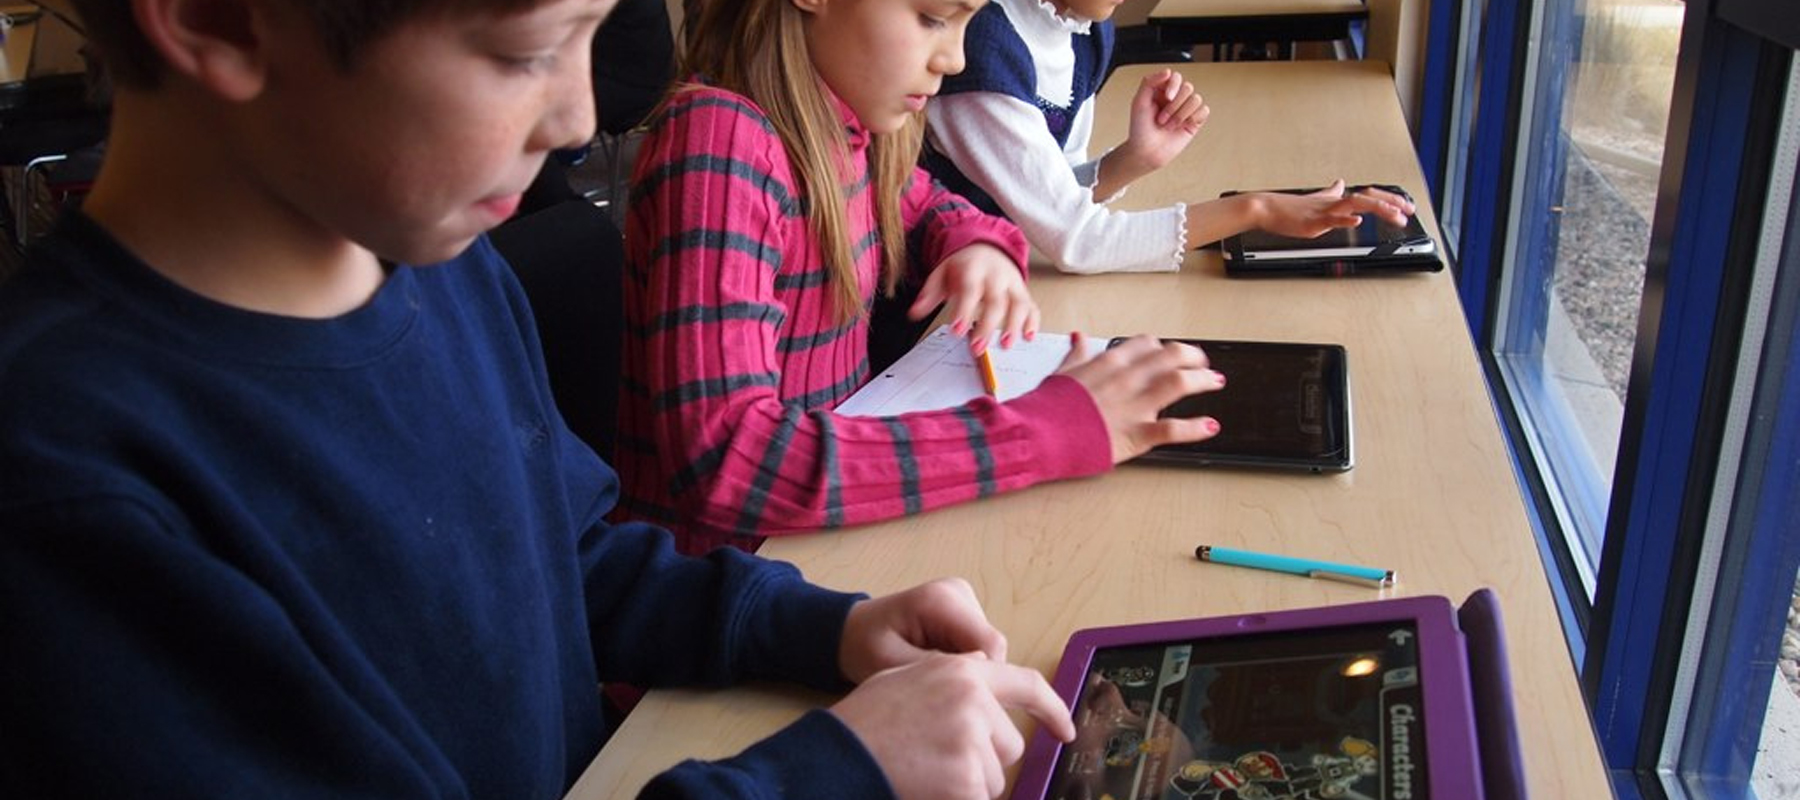
With the Clips app, you can record video and add animated captions to your video while recording. You can also combine multiple video clips and still photos to make a single continuous video, and then add effects like filters, emoji, and music.
Record Video with Clips
- Open the Clips app.
- Tap files in the upper-left corner, then tap "+".
- To start recording, hold the red button. If you don't want to hold the button, swipe up on the record button to lock it.
- To stop recording, let go of the record button. If you locked the record button, tap it to stop recording. Find the new clip in the timeline at the bottom of the screen.
- To watch your recorded clips, tap a clip in the timeline, then tap play.
Add More Clips to a Video
You can keep recording new clips and then combine multiple clips to make a video. When you add a clip to a video, the new clip appears after the previous clip in the timeline. When you play back the video, it plays all the clips in the order they appear in the timeline.
You can also add existing still photos and videos from your library with these steps:
- Tap Library.
- Tap an existing photo or video.
- Hold record for the amount of time that you want the photo or video to appear. For example, if you select a photo and hold record for three seconds, the photo will appear in your video for three seconds. And if you select an existing video in your library and hold record for five seconds, the first five seconds of action will appear in your video.
- After you add a clip, you can reorder clips or remove them.
- To reorder clips, touch and hold a clip in the timeline, then drag it left or right.
- To remove a clip from a video, select the clip in the timeline, then tap trash. Or drag the clip towards the top of the screen.
Share Videos
If the video that you want to share isn't open, tap the filing cabinet in the upper-left corner.
If you don’t see the one that you want, swipe left to see more of your video projects. Then tap a video to open it.
Tap "sharrow", then choose how you want to share.
For more information on Clips, like selfie scenes and animated captions, please see the Support Guide below:
K-2 USING CLIPS

Students use Clips to record themselves reading the sights words.

Instructions
- Teacher takes pictures of the sight words that are used in the classroom. Teacher selects the images and airdrops them to the students. Best practice would be to use Classroom app and the airdrop feature to send to all students at once or a small group of students who need that assessment.
- Students or Teacher: Open Clips app and add the images of the sight words. Turn on “Live Titles” in Clips.
- Students record themselves saying the words out loud.
- Tap the “Sharrow” and turn into the teacher using the “Turn In” feature that is built into Classroom app.
3-5 Using Clips

Students will create a Clips video that is an All About Me project.

Instructions
- Students will gather 3-5 images that outlines who they are. (Ex: Family picture, favorite food, favorite animal, favorite sport, color, drink, so on)
- Students can use the camera app to take pictures of their family, animal/pet, food, and/or use Safari to search and then save the images to the camera roll.
- Use split screen with Photos app and Notes app. Tap one of the photos, then in notes, type, use Siri or the Markup tools to gather thoughts about what you want to say about each photo.
- Open Clips and add the photos from the camera roll. Students record themselves explaining each photo. Add filters, add effects, music, and more.
- Tap sharrow and save video to camera roll, and then share to the teacher via Airdrop, Classroom, or Email.
6-8 USING CLIPS

Use Clips to teach best practices and safe social media use.

Instructions
- Use Safari to research trending topics.
- Split the screen with Safari and Notes, take notes on what topic interest you. Who is it, what is it, why did you pick it, and why do you think it is trending. (Debates, pro’s and con’s)
- Search in Safari for an image/s that represents your topic, save it to Photos.
- Open Clips, and add your image, record you're answers and or personal thoughts about the topic. Add effects such as emojis, music, and live titles.
- When complete share the note with your teacher via Airdrop/Classroom/Email.
9-12 USING CLIPS

Students will sketch their video creation to demonstrate their learning.

Instructions
- Students will open the Clips app and record a clip using the “Ink” filter.
- Inside of Clips tap “Trim” take a screenshot of every 2 - 4 frames.
- Split screen with Photos and Keynote. Select and drag the photos from the camera roll to Keynote.
- Make Keynote full screen. Use the drawing tool in Keynote to sketch over each frame. Use the color tools and different tools as needed.
- When done export the Keynote as an iMovie. In iMovie speed up the clip as need. Save to camera roll.
- When complete share the vide with your teacher via Airdrop/Classroom/Email.

The iPad offers many built in Accessibility tools that allow every student in your classroom to feel empowered and engaged. Here are a few ways you can reach all learners using these Accessibility Tools in your classroom:
Clips is an app that it is easy and fun (motivating) for many students to use. Here are some ways to reach all learners using the Clips app:
- Students can use Clips as an alternative to some writing assignments (e.g. record their reflection on key concepts of a chapter)
- Students and Teachers can use Live Titles to provide captions to videos created with Clips.
- Students with low vision can use VoiceOver to access the controls for creating videos.
- Social stories for students can be quickly created using Clips. After uploading pictures, Live Titles can be used to add text on the screen. With little editing, a social story that includes student expectations for gym time can be created and shown to students before they head to gym.