
Calendar
Calendar
![]()
Manage Your Calendar
Use the Calendar app to keep track of all your appointments and events.

Ask Siri. Say something like:
- “Set up a meeting with Gordon at 9”
- “Do I have a meeting at 10?”
- “Where is my 3:30 meeting?”
Add an event. In day view, touch and hold a time until a new event appears, then fill in the event details. If you add the address of the event’s location, you’re reminded in time to leave from your current location, based on traffic conditions.
Search for events. Tap the magnifying glass, then enter text in the search field. The titles, invitees, locations, and notes for the calendars you’re viewing are searched.
Ask Siri. Say something like: “What’s on my calendar for Friday?”
Change your view. Tap Day, Week, Month, or Year. Tap the magnifying glass to view upcoming events as a list. In week or day view, pinch to zoom in or out.
View events sent to you in Mail messages. Tap Settings > Calendar > Siri & Search, then turn on Find Events in Other Apps.
Adjust an event. Touch and hold the event, then drag it to a new time, or adjust the grab points.
Ask Siri. Say something like: “Reschedule my appointment with Chris to next Monday at 9 a.m.”
Fine-tune Calendar. Go to Settings > Calendar to set which day of the week calendar starts with, display week numbers, choose alternate calendars (for example, to display Chinese or Hebrew dates), override the automatic time zone, and more.
Change how Calendar notifies you. Go to Settings > Notifications > Calendar. You can change notification styles for invitations, events found in apps, upcoming events, and more.
Create and Share Events
In the Calendar app , send and receive meeting and event invitations. iCloud, Microsoft Exchange, and some CalDAV servers let you send and receive meeting invitations. (Not all calendar servers support every feature.)
Invite others to an event. You can invite people to an event, even if you’re not the one who scheduled it, with Exchange and some other servers. Tap an event, tap Edit, then tap Invitees. Type names, or tap plus to pick people from Contacts. If you don’t want to be notified when someone declines a meeting, go to Settings > Calendar, then turn off Show Invitee Declines.
RSVP. Tap an event you’ve been invited to, or tap Inbox, then tap an invitation. If you add comments (which may not be available for all calendars), your comments can be seen by the organizer but not by other attendees. To see events you declined, tap Calendars, then turn on Show Declined Events.
Schedule a meeting without blocking your schedule. Tap the event, tap Availability, then tap “free.” If it’s an event you created, tap Show As, then tap “free.” The event stays on your calendar, but the timeframe doesn’t appear as busy to others who send you invitations.
Quickly send an email to attendees. Tap the event, tap Invitees, then tap the envelope.
Suggest a different meeting time. You can suggest a different time for a meeting invitation you’ve received. Tap the meeting, then tap Propose New Time. Depending on the capabilities of your calendar server, the organizer will receive either a counter-proposal or an email with your suggestion.
Use Multiple Calendars
In the Calendar app , set up multiple calendars to keep track of different kinds of events. Although you can keep track of all your events and appointments in one place, you don’t have to. Additional calendars are easy to set up, and a great way to stay organized.

See multiple calendars at once. Tap Calendars, then select the calendars you want to view.
Set a default calendar. Go to Settings > Calendar > Default Calendar. When you add an event using Siri or other apps, it’s added to your default calendar.
Change a calendar’s color. Tap Calendars, tap next to the calendar, then choose a color. For some calendar accounts, such as Google, the color is set by the server.
Turn on iCloud, Google, Exchange, or Yahoo! calendars. Go to Settings > Passwords & Accounts > Add Account > Other, tap Add CalDAV Account or Add Subscribed Calendar, then enter a server address.
Subscribe to a calendar. Go to Settings > Passwords & Accounts > Add Account > Other, then tap Add Subscribed Calendar. Enter the URL of the .ics file to subscribe to. You can also subscribe to an iCalendar (.ics) calendar by tapping a link to the calendar.
Add a CalDAV account. Go to Settings > Passwords & Accounts > Add Account > Other, then tap Add CalDAV account.
Add a macOS Server account. Go to Settings > Passwords & Accounts > Add Account > Other, then tap Add macOS Server Account.
View the Birthdays calendar. Tap Calendars, then tap Birthdays to include birthdays from Contacts with your events.
View the Holidays calendar. Tap Calendars, then tap Holidays to include national holidays with your events.
Move an event to another calendar. Tap the event, tap Edit, tap Calendars, then select a calendar to move it to.
Share iCloud Calendars
Share iCloud calendars on iPad
In the Calendar app , you can share an iCloud calendar with other iCloud users. When you share a calendar, others can see it, and you can let them add or change events. You can also share a read-only version that anyone can view. If you set up Family Sharing, a calendar shared with all the members of your family is created automatically.
Create an iCloud calendar. Tap Calendars, tap Add Calendar, then type a calendar name.
Share an iCloud calendar. Tap Calendars, then tap "i" next to the iCloud calendar you want to share. Tap Add Person, then enter a name, or tap "+" to browse your Contacts. Those you invite receive an invitation to join the calendar.
Change a person’s access to a shared calendar. Tap Calendars, tap "i" next to the shared calendar, then tap the person. You can turn on or off their ability to edit the calendar, resend the invitation to join the calendar, or stop sharing the calendar with that person.
Turn off notifications for shared calendars. When someone modifies a shared calendar, you’re notified of the change. To turn off notifications for shared calendars, go to Settings > Notifications > Calendar > Shared Calendar Changes.
Share a read-only calendar with anyone. Tap Calendars, then tap "i" next to the iCloud calendar you want to share. Turn on Public Calendar, then tap Share Link to copy or send the URL for your calendar. Anyone can use the URL to subscribe to the calendar using a compatible app, such as Calendar for macOS.
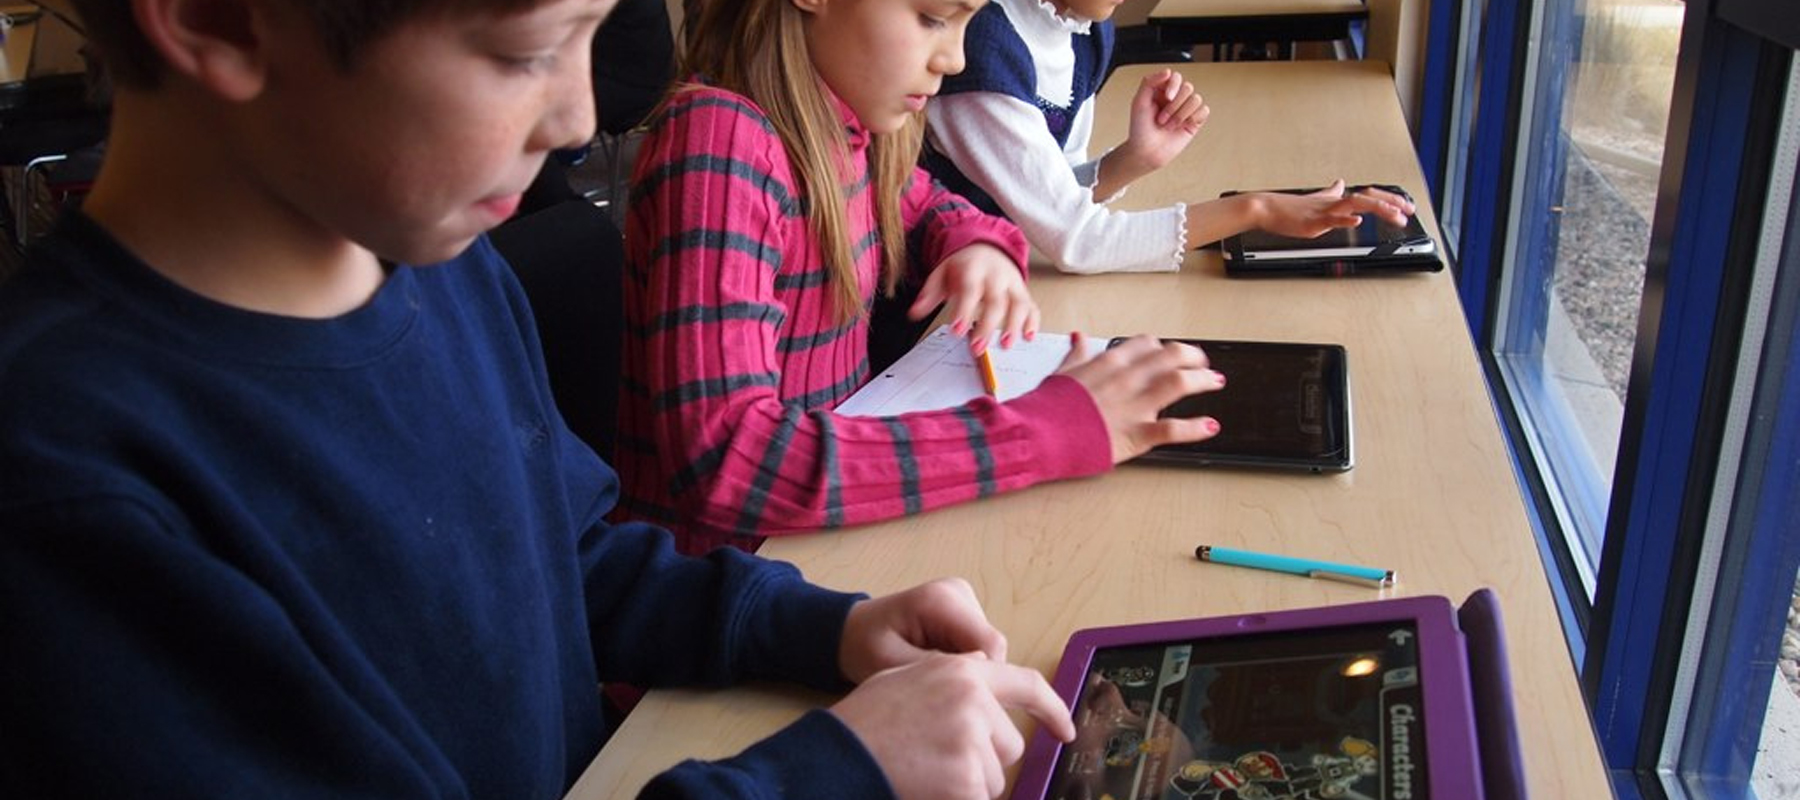
K-2 USING CALENDAR

Students take a screenshot of the monthly calendar, edit and annotate, self reflecting on expectations

Instructions
- Open Calendar and view the current month.
- Take a screenshot of that month, tap the thumbnail in lower left, crop and edit as needed, Tap “Done”, “Save to Photos”
- Find screenshot in Photos
- Tap “Edit”, tap 3 dots, Markup
- For each day of the week provide a grading outline by the teacher. Example a smiley face, straight face, or sad face based on your classrooms expectations.
- Share with teacher and or parents at the end of the month (Use Apple Classroom & Airdrop or Seesaw)
3-5 USING CALENDAR

Students will create events, and set alerts to not forget events or materials. Then add the calendar widget to their “At a Glance”.

Instructions
- Open Calendar and tap the “+” to create a new event. (Ex: Library dates, specials, field trips, assignments, tests/quizzes)
- Enter title, location, start and end times.
- Create two separate “Alerts”. (Ex: 1 Day before library book is due, and 10 minutes before library class)
- Add URL’s and or notes that help one to “Not Forget” (Ex: clothes for PE, or what to bring for your part in the play)
- Tap “Add”
- From iPad home screen swipe all the way left, scroll down, tap “Edit”, + Up Next and or Calendar widget
6-8 CALENDAR

Students will use the Calendar, and the Reminders app to set events, alerts and reminders so they never have a late assignment again.

Instructions
- Open the Calendar and split the screen with the Reminders app
- In Calendar, create a calendar for each class, setting times and dates that they occur.
- In Reminders, create a “List” for each class or for each day of the week, then inside the list create reminders for assignments, material, tests, quizzes, events and or anything you don’t want to forget.
- From iPad home screen swipe all the way left, scroll down, tap “Edit”, + Up Next and or Calendar widget
- Extra: Use Siri to create new reminders on the go
9-12 Using Calendar

Create a workflow using the built-in app. The workflow should spark creativity and productivity.

Instructions
- Open Calendar app and Add Calendar for each subject/class you are taking.
- Slide up and split the screen with Calendar and Notes.
- Using the Notes that you have been taking in your classes. Create an Event for all of your tests, quizzes, and due dates. Add alerts to each event.
- Invite at least one class mate to a study session for a test, quiz, or group assignment.
- Take a screen shot of the Month view showing your newly created events. Share that screenshot with your teacher and or parent/guardian.
One best things from Apple Distinguished Educators - Power-Up Projects built by educators in the field- Lesson plan that uses the app
One Best Thing ![]() Power-Up Project
Power-Up Project  Lessons Plans
Want to learn more about using the Calendar in education? Check out these resources:
The iPad offers many built in Accessibility tools that allow every student in your classroom to feel empowered and engaged. Here are a few ways you can reach all learners using these Accessibility Tools in your classroom:
- Speak Screen: Use Speak Screen to have events read aloud.
- Siri: Tell Siri to create an event, or list what is on the schedule for the day.
- Voice Over: Speak what you would like to do with the calendar.